Showing posts with label DIY Projects. Show all posts

Sunday, August 24, 2014

Craft Retreat

Eight months ago I was thrilled to finally have some closet space in our apartment dedicated to my craft supplies. Today, I'm lucky enough to call an entire room my craft retreat.  Our new home came along with a 'bonus' room in the basement.  It's a small room off the main basement living area that could be used as an extra bedroom or workout space, but Rob has kindly forgo any of his plans so I could make it my own.

I knew that I wanted tons of storage with room to grow my stash, a high table so I can stand while I work without killing my back, and I wanted to keep the cost minimal.


For the table I used bookcases from Target and a board and trim from Lowe's. We actually already owned the shelving unit and were using it for storage in the garage, but after a little reorganization, I was able to free it up.


The room also has a closet - the perfect place to hang fabric.


What did it cost? Here is the breakdown:
     - Small shelf for table - $17
     - Tall shelf for table - $26
     - Board for table - $20
     - Trim for table - $12
     - Paint for table - $3
     - Storage shelf - FREE (already owned)
     - Colored cubes and bins - $50

     Total = $128

I'm really looking forward to creating in this new space!


Tuesday, July 8, 2014

How To: Make An Ottoman Slip Cover

My parents generously handed-down the couch from their basement to help us fill our family room. I remember helping my mother pick out the fabric for this couch when I was in middle school to match our newly finished basement.  It saw its share of sleepovers and movie nights, but held up well and made the journey to Iowa ten years later.

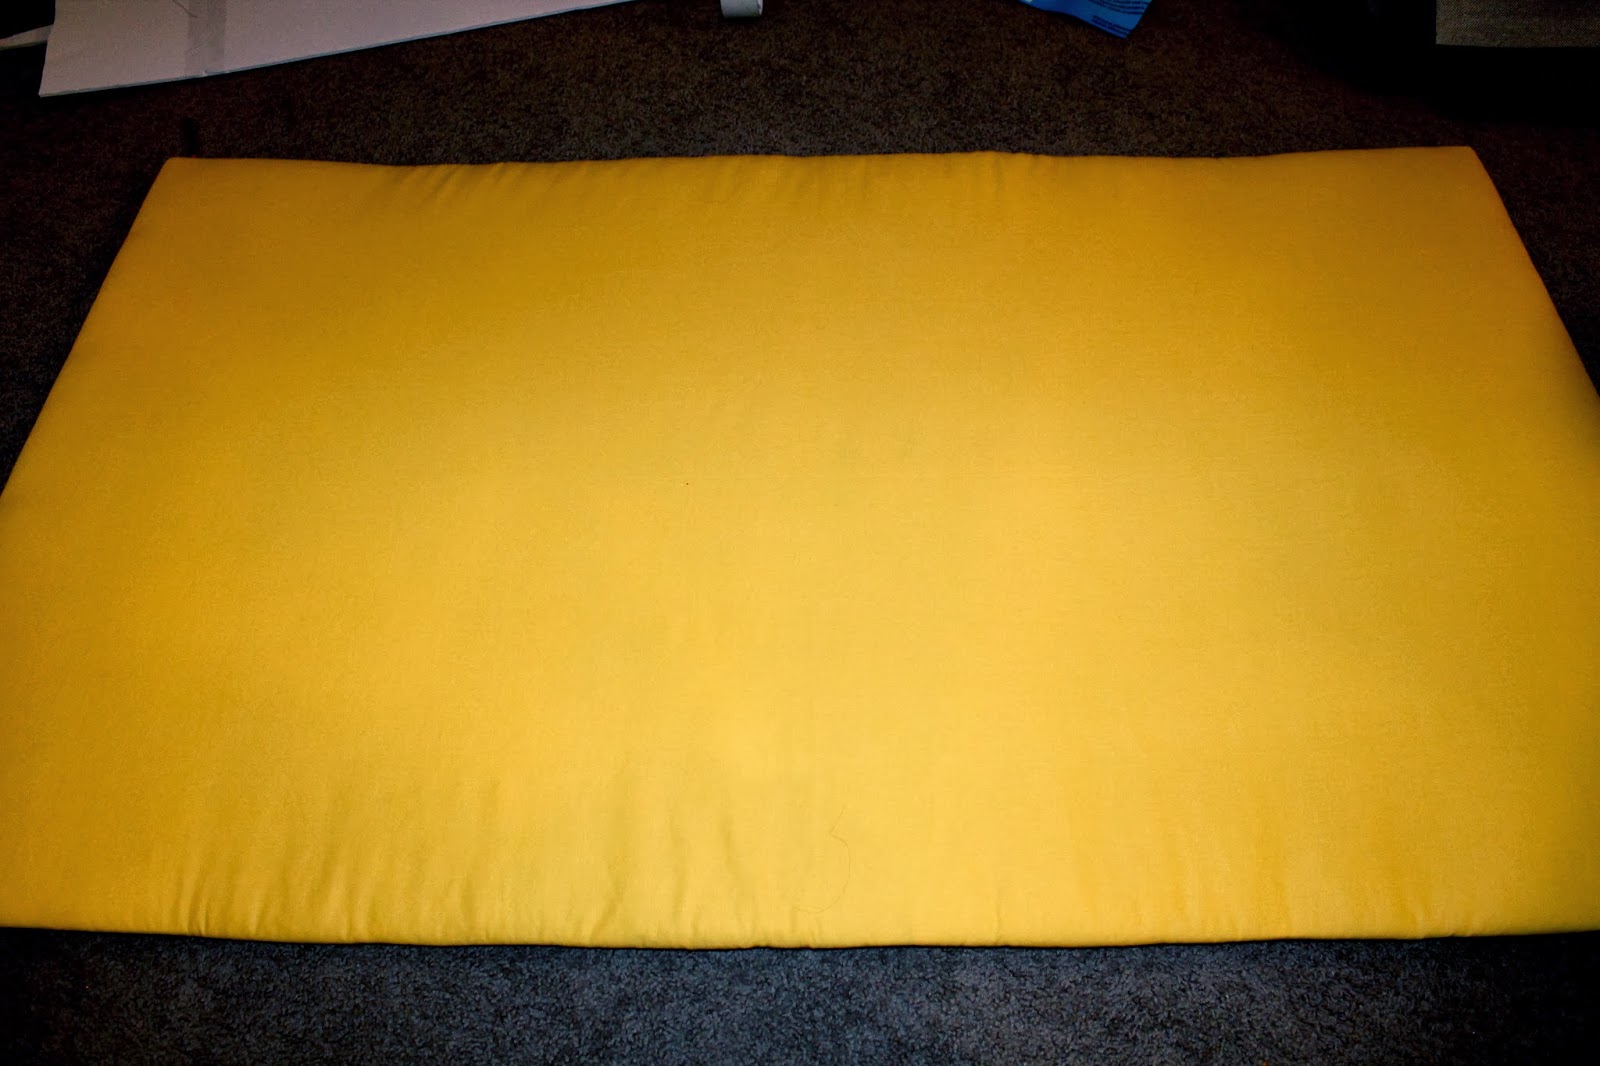
Hoping to make the couch my own, I switched out the throw pillows for a pop of color and made plans to re-purpose the ottoman. I've partnered with my sewing machine on a few projects throughout the years, so I decided to put my skills to the test by making a slip cover to match my new pillows. I figured I was off to a good start when I found the perfect color fabric (I have found that there are many versions of rustic orange).

A few hours later, the ottoman was like new! Whether you are like me and want to bring new life to an old piece, or if you're just looking to add a splash of color or texture to a room, this is a small way to make a big impact. I was able to complete this project for only $15!

What you'll need:

  • Fabric (I recommend upholstery or a heavy cotton so it can take some wear and tear)
  • Thread
  • Scissors
  • Measuring Tape
  • Straight Pins
  • Decorative Trim (optional)
  • Sewing Machine (tip: if you don't own one you can 'rent' a seat at a local sewing shop!)

What you'll do:

Step 1: Purchase your fabric. My ottoman is a 20" by 20" cube and needed 1.5 yards.


Step 2: Cut 5 pieces of fabric. These will be the sides and top to your slip cover.  Measure each side and add an additional inch so you have room for your hem. For example, the side of my ottoman was 16" high by 20" wide, so I cut 4 pieces at 17" by 21".


Step 3: Sew your sides together with a 0.5" hem (remember that you made each piece 1" bigger than you needed, to allow for a 0.5" hem on each side). Be sure to sew inside out so your hem will be concealed in the inside of the slip cover.

Step 4: Slide your cover over the ottoman and correct any hems that are too tight or too loose.


Step 5: Fit your top piece to the sides.  With your 4 sides inside-out and snug around the ottoman, lay your top piece face down.  Secure to the 4 sides with straight pins.  Then, pull the cover off of the ottoman and sew it together on the sewing machine with a 0.5 inch hem.


Step 6: Turn the cover right-side out and slide over the ottoman.  Again, make note of any hems that need to be pulled tighter or loosened and make those corrections.

Step 7: Most likely, you will have small holes in the top corners that the sewing machine couldn't reach. Simply turn your cover inside out again and hand-stitch the corner together.

Step 8: You are almost done! Finish the bottom of the slip cover with a small hem around the base.

Step 9 (Optional): Hand-stitch a decorative trim on the top, bottom, or sides of your cover.

Step 10: Admire your work!


Saturday, March 1, 2014

Beverage Party Tub


I hosted a little birthday party for my mom a few weekends ago and while setting up I couldn't decide how to display the beverages.  Then I remembered that we had the tops of the wine barrels stored away in our garage from the coffee table the hubby made for me last summer.
 
I pulled them out, put a plastic bag in the bottom to catch the ice, and walla! A unique beverage tub for get-togethers.   

Thursday, January 30, 2014

Nightstand Makeover


I had some fun with an old nightstand the other day. I didn't really need the drawer space, and was looking to add a little more character to the piece. 

The Steps: 


1. Remove the bottom drawer and the drawer tracks.


2. If you have a base piece on your nightstand, great! If it doesn't (like mine) cut a piece of wood to fit. Since I don't plan to put anything too heavy on mine (and because I don't have access to a table saw), I opted to use some heavy foam presentation board.


3. Purchase self adhesive shelf liner and apply it to the area you want to cover. I was able to score 2 rolls on Amazon for $10 and only used half of one roll for this project.


4. Add whatever decor you wish.  For now, I have the table numbers from my wedding to represent our wedding date.  I think it would be nice to put a small flower arrangement here too.


    A simple furniture makeover idea for just dollars. And the good news is that if I want to use the drawer again, all I would have to do is remove the foam board piece and reattach the drawer tracks!

    Wednesday, January 8, 2014

    DIY Headboard

    I've been itching to add a little character to our master and guest bedrooms, but as a renter it can be very difficult to do so without the ability to paint the walls or the budget to buy new furniture. So, after some brainstorming I came up with a DIY headboard for under $40/each - maybe even less depending on what supplies you already have around the house.  Check it out! 

    Our Master Bedroom
    Our Guest Bedroom
    What you'll need:

    • Foam poster board
    • Batting
    • Fabric
    • Staple gun
    • Tape
    • Box cutter
    • Decorative trim, buttons, etc.

    What you'll do:

    Step 1: Purchase foam tri-fold presentation board from your local craft store.  Be sure to measure the width of your bed before you leave the house to know how many inches you will need (king bed = around 80 inches, queen bed= around 60 inches).  I was able to make both headboards from 3 of these presentation boards.


    Step 2: Tape the folds of the board and add additional sections (if needed) for width.


    Step 3: If you would like a custom shape to your headboard (as I did for our master bedroom) use a box cutter. Then, use the piece you cut off to trace a mirror of the design on the opposite side.


    Step 4: Add two layers of batting, pull your fabric tight, and secure with a staple gun.


    You are halfway there! 


    Step 5: This is the step that my headboards went in different directions.  For my master headboard, I simply used straight pins to secure a decorative trim near the edge.


    And for the guest room headboard, I strung a button onto the straight pin, poked through the headboard, bent the ends down on the back, and secured with tape.


    Almost done!


    Step 6: Secure to the wall with one nail on each side. For the master, I hide the nails under the trim. For the guest headboard, I took advantage of my button decor and hot glued my two remaining buttons over the nails.


    Step 7: Admire your updated space!


    Before
    After! 
    No need to spend money on something like this when you could make your own inexpensively at home! Each one took about an hour and cost under $40 - DO IT!

    Saturday, January 4, 2014

    Kitchen Art

    Looking for some unique wall art?  Here is a cheap, easy DIY project that is perfect for your kitchen. This is over my kitchen table.

    Here's what you'll do:
    1. Purchase a cabinet door - you could really use any piece of wood but I like that a cabinet door already comes with a finished look.
    2. Paint, stain, or age the wood to your liking.
    3. Bend some old spoons (I choose 5 different spoons to add more character to the piece) and hot glue them to the wood. It can be difficult to bend the spoons, but I was able to do it with a hammer and pliers.
    4. Hot glue tea light candles on each spoon.
    5. That's it!