Showing posts with label Holidays. Show all posts

Sunday, November 2, 2014

Happy Halloween

Rob and I had so much fun hosting our friends for Halloween last year we decided to do so again.  After the trick-or-treaters made their way around our neighborhood we opened our doors to a great group of friends for some Halloween fun. 

The decor....spiderwebs, bones, cauldrons, and my favorite - floating ceiling candles that I made from toilet paper rolls and tea lights strung on fishing line.
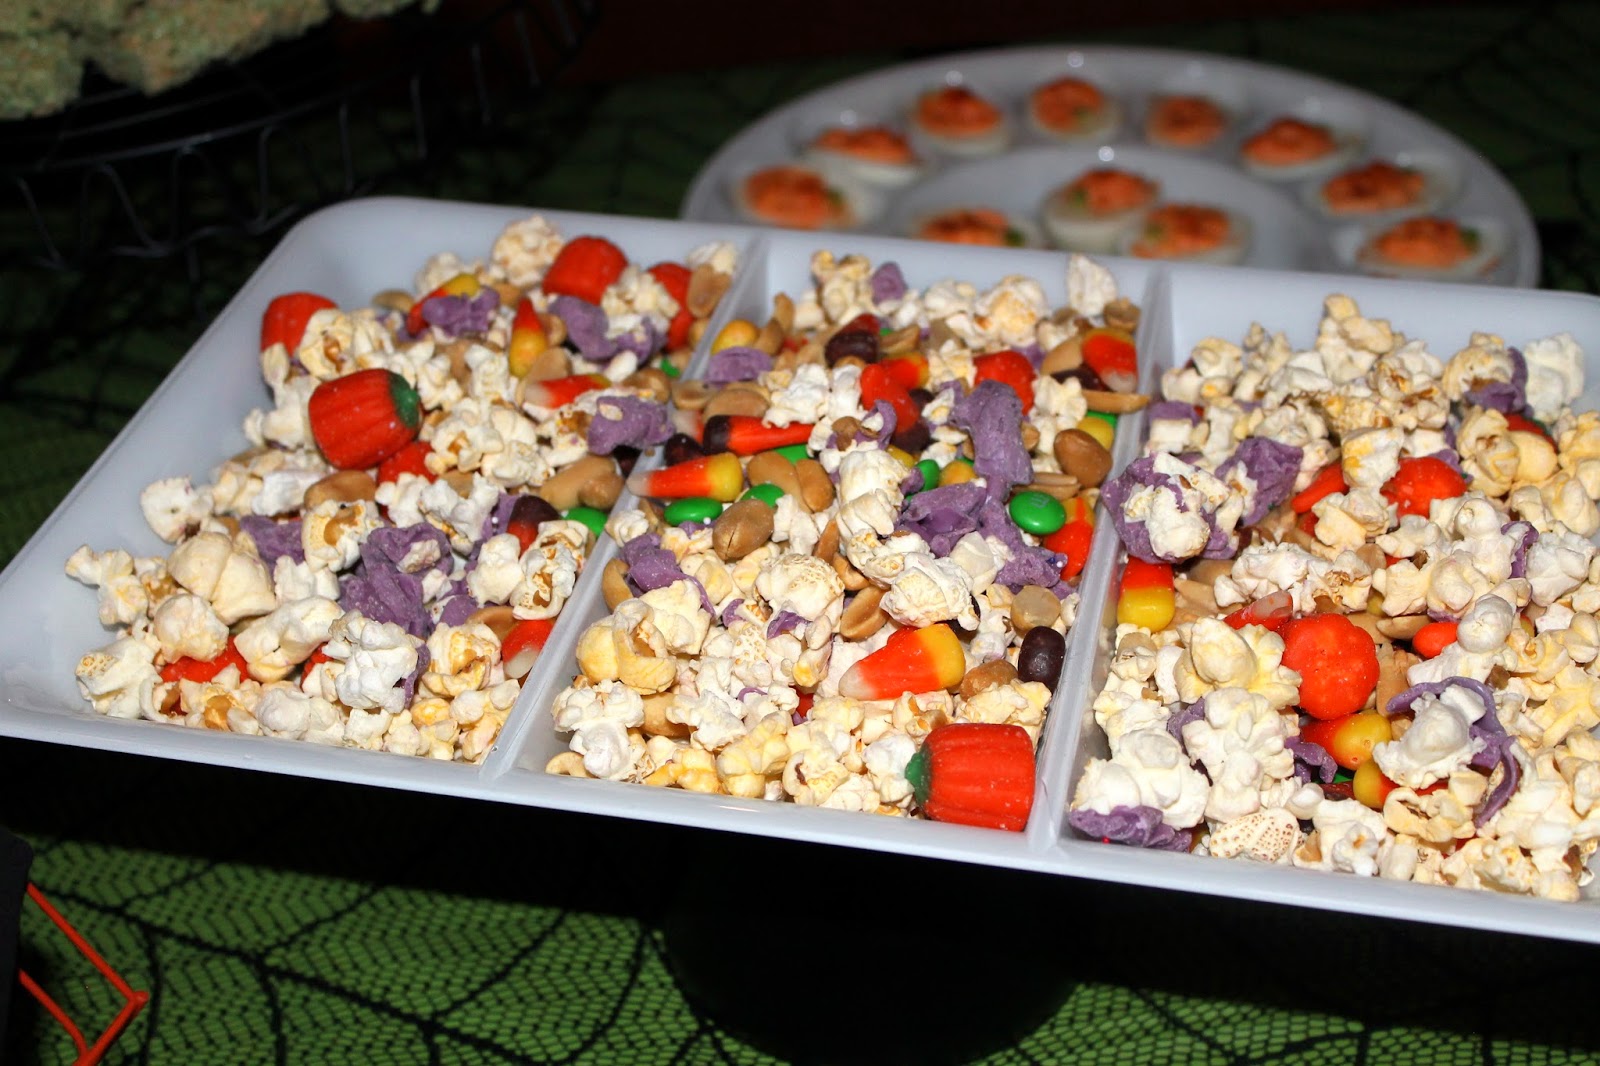


The Treats...


The Costume Contest...Funniest (Hawaiian Punch), Most Creative (Rock, Paper, Scissors), and Dynamic Duo (Road Runner and Wile E. Coyote).  These are so much fun to make and incredibly affordable.  Just a few skeletons from the Dollar Store, a coat of gold spray paint, some hot glue to pose them, a few fun props and whala! - custom trophies!


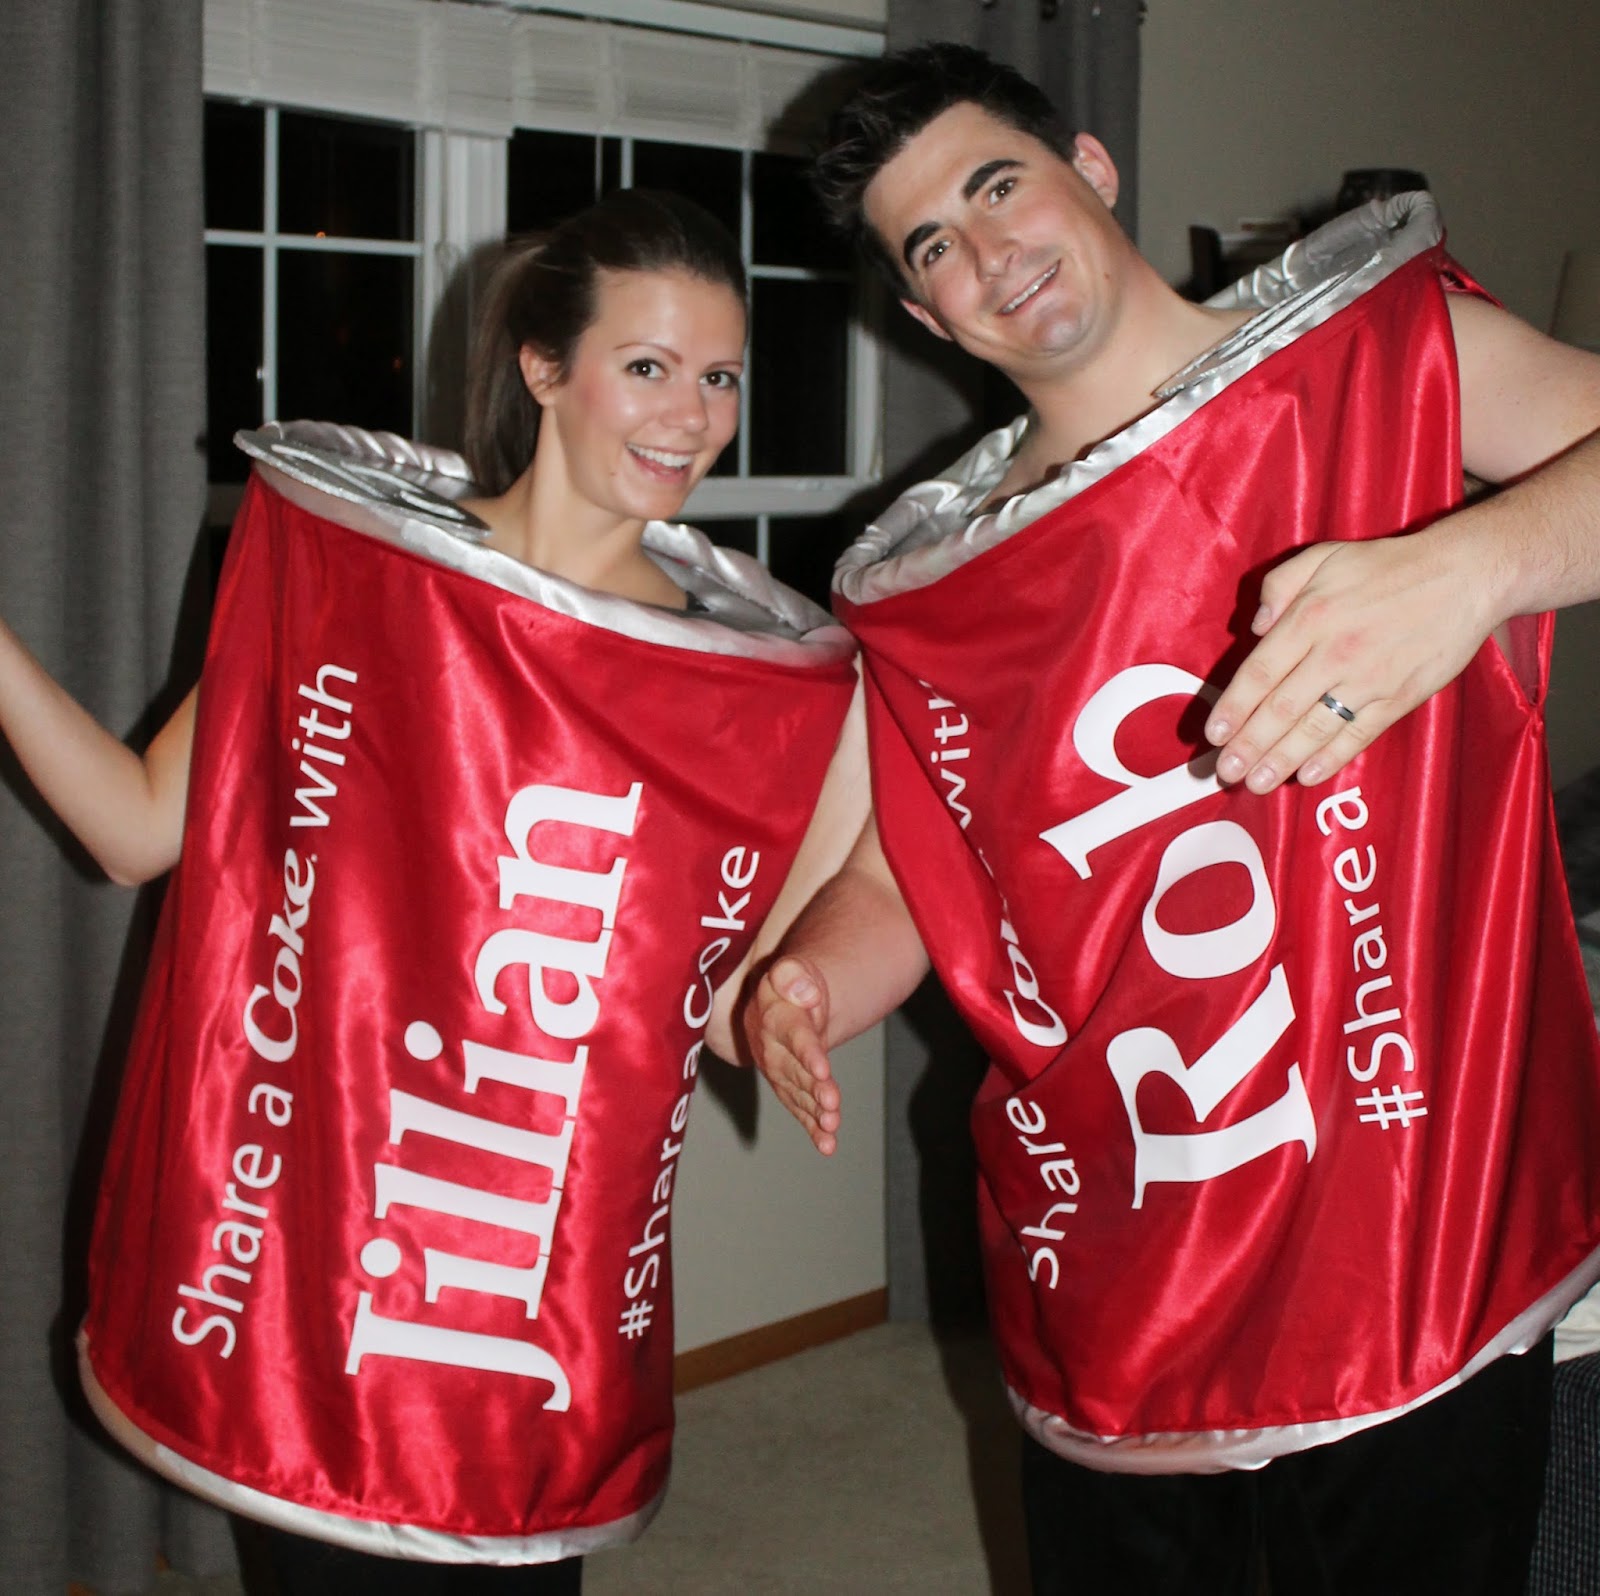
The costumes...Rob and I decided to go with something "pop" culture this year and landed on the idea of Share A Coke cans.  After a trip to the fabric store, hunting down a few hula hoops, and a little help from a local screen printer, we were pleased to bring our personalized cans to life!


Charlie Brown and Snoopy (with my future nephew in tow!)


Fall - very fitting for the Halloween season


Hawaiian Punch....so clever!


Road Runner & Wile E. Coyote....I mean, seriously?? This homemade costume deserves a round of applause!


Rock, Paper, Scissors - so perfect for a group of three!


Now if only we could all remember the clever ideas we come up with throughout the year but swear we will remember the next time October comes around. I'm going to have to write my ideas down throughout the year so I can compete with the incredibly creative ideas my friends come up with!  

Happy Halloween!


Monday, December 30, 2013

Christmas

We had a very merry Christmas this year! Here are some highlights...

"Festive footwear" with the Smiths in Des Moines...


Time with my family in Gurnee and the Jorgensens in Hampton...


and the Klein and Miller celebrations in Cedar Rapids...


The annual nativity story - this year featuring the newest baby Jesus of the family, Alice.


A Reindeer at SCHEELS

One of my favorite events to date at SCHEELS......a real reindeer in the store!


There are many opportunities to meet Santa throughout the holiday season in the Cedar Valley.....at one of the malls, Holiday Hoopla, at the Christmas tree farm.....but how often to kiddos get the chance to meet one of the famous reindeer?


I started plans for this event in June and couldn't be happier with how well it went.  On a Tuesday night in December, little ones crawled into Santa's sleigh for a free picture, told him their last minute Christmas wishes, and then visited with a reindeer. 

Cruz right before he told Santa "Alright, I'd like to get down now"

While waiting in line, they could write a letter to Santa, pick out a pair of antlers, and learn some facts about reindeer.


Apart from having to crank up the roasted nuts in our coffee shop to mask the smell of our furry friend, and holding a shopping bag for a young girl as she got sick on our run to the bathroom, I'd say it was a huge success! Around 300 children joined in on the fun!


Thursday, December 12, 2013

Our First Place Ornament

I am the Event Coordinator at our area SCHEELS and recently hosted a free Kids Klub event for customers where we made ornaments to take home and hang on their Christmas tree. 

It was so cute to see all the kiddos working on their ornaments that I was inspired to make my own when I got home that night. I decided on an 'Our 1st Place' ornament made completely out of materials I already had laying around the house.

Step 1: Combine flour, salt, and water in a mixing bowl.  Knead until you form a dough.


Step 2: Roll out the dough and use a cookie cutter (or bowl as I did) to cut a circle.


Step 3: Press your house key into the dough.


Step 4: Use a straw to punch a hole for your hanger.


Step 5: Bake at 300 degrees for about 20 minutes, or until golden brown.


Step 6: Once cooled, put on a coat of paint (optional).


 Step 7: String a ribbon for the hanger.


Step 8: Using a sharpie, write your address.


Step 9: Hang on your tree and enjoy!


Friday, December 6, 2013

Merry Mail

I am always looking for a new craft to make so when the holidays roll around it is an easy excuse for a trip to craft heaven (aka Hobby Lobby) for some supplies for my newest project.

I was inspired by a ‘Merry Mail’ holder I spotted on Pinterest and thought I would take a shot at it. This was super easy to make and will allow me to display holiday cards from family and friends without cluttering the refrigerator!

Step 1: Cut burlap, fabric or ribbon to about 4 inches wide and as long as you think you will need to display all of your anticipated merry mail.

Step 2: Secure wine corks down the center of your ribbon with a hot glue gun.

Step 3: Glue one end of your ribbon to the back of you header (I used a chalkboard). Fold and glue the opposite end of your ribbon under for a finished look.

Step 4: Write ‘Merry Mail’ on your header and hang on a closet door or wall.

Step 5: Display holiday cards with fun push pins. Enjoy!