
I've been itching to add a little character to our master and guest bedrooms, but as a renter it can be very difficult to do so without the ability to paint the walls or the budget to buy new furniture. So, after some brainstorming I came up with a DIY headboard for under $40/each - maybe even less depending on what supplies you already have around the house. Check it out!
 |
| Our Master Bedroom |
 |
| Our Guest Bedroom |
What you'll need:
- Foam poster board
- Batting
- Fabric
- Staple gun
- Tape
- Box cutter
- Decorative trim, buttons, etc.
What you'll do:
Step 1: Purchase foam tri-fold presentation board from your local craft store. Be sure to measure the width of your bed before you leave the house to know how many inches you will need (king bed = around 80 inches, queen bed= around 60 inches). I was able to make both headboards from 3 of these presentation boards.

Step 2: Tape the folds of the board and add additional sections (if needed) for width.

Step 3: If you would like a custom shape to your headboard (as I did for our master bedroom) use a box cutter. Then, use the piece you cut off to trace a mirror of the design on the opposite side.


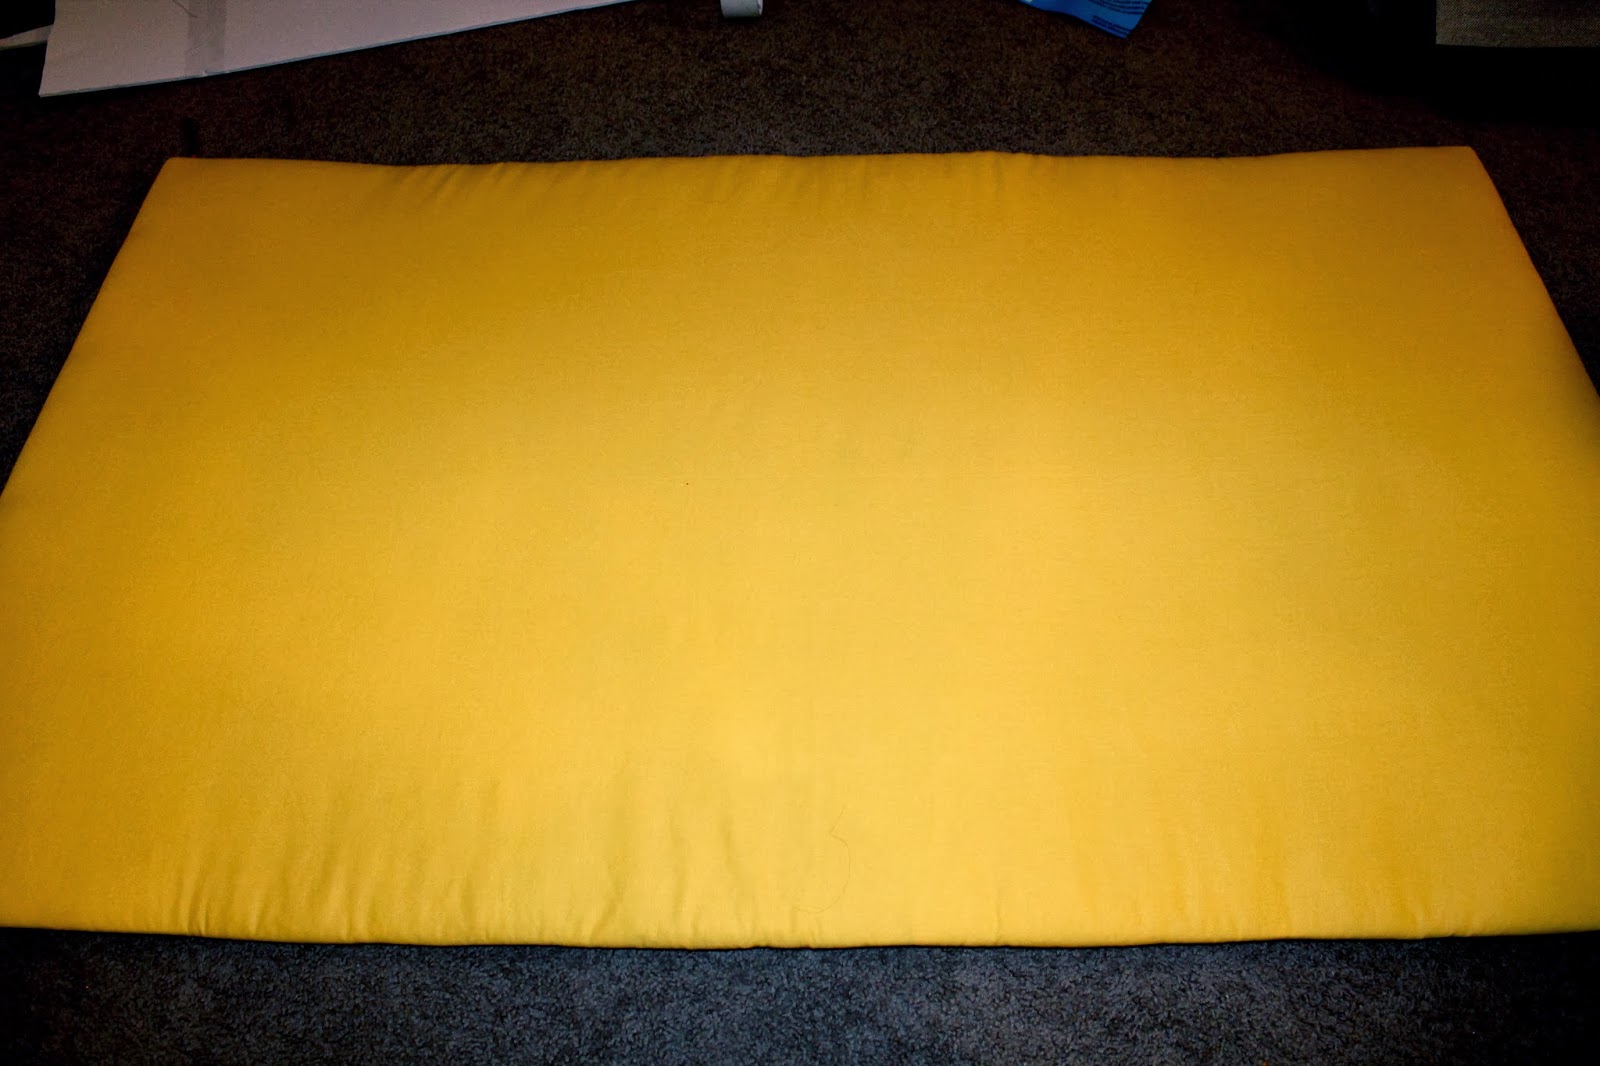
Step 4: Add two layers of batting, pull your fabric tight, and secure with a staple gun.


You are halfway there!

Step 5: This is the step that my headboards went in different directions. For my master headboard, I simply used straight pins to secure a decorative trim near the edge.

And for the guest room headboard, I strung a button onto the straight pin, poked through the headboard, bent the ends down on the back, and secured with tape.


Almost done!


Step 6: Secure to the wall with one nail on each side. For the master, I hide the nails under the trim. For the guest headboard, I took advantage of my button decor and hot glued my two remaining buttons over the nails.


Step 7: Admire your updated space!


 |
| Before |
 |
| After! |
No need to spend money on something like this when you could make your own inexpensively at home! Each one took about an hour and cost under $40 - DO IT!
1 comment:
Super Cute!
Post a Comment